Last Updated on 05/11/2023
Changing the primary address in the PayPal app can be somewhat confusing if you aren’t familiar with its navigation menus.
To find out how to do so, you can take a look at this step-by-step tutorial at Overly Technical.
1. To begin, you need open the PayPal app.
2. After opening the PayPal app, you need to make sure that you are logged into your PayPal account.
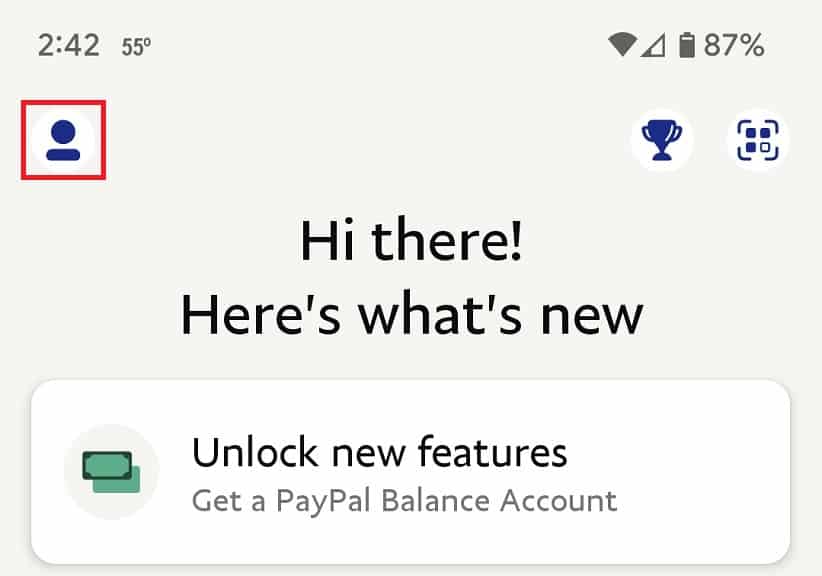
3. On the front page of the PayPal app, tap the profile icon on the top left side.

4. In the Profile menu, you then need to tap the “Account info” option.
5. In the “Account info” menu, tap the Addresses option.
6. In the “All addresses” menu, you will see all the addresses you have stored on your PayPal account.
The Primary Address should be the first one shown. You can edit or remove it from your account.
The other addresses in the “All addresses” menu are shown from the newest to the oldest in terms of when they were added to your PayPal account. You can edit these addresses, remove them or set one of them as your primary address.
7. If you want to add a brand-new address and then set it as the primary one, tap the “Add new” option in the “All addresses” menu.
In the “Add a new address” menu, enter your new address and then make sure to check the “Make this your primary address” box is checked before you tap the “Add Address” option at the bottom.
